What Are Easy Wood Projects to Make and Sell For 2025
You don’t need a workshop full of machines to make money from woodworking. Many profitable products can be built with just a saw, drill, sander, and a few boards. The key is choosing projects that are simple to make, use affordable materials, and appeal to everyday buyers.
Related: High Demand Wood Crafts
In this guide, we’ll look at five proven beginner wood projects that are easy to build, look great, and consistently sell well online or at local markets. Each includes detailed instructions, materials, and finishing ideas so you can start building right away.

Table of Contents
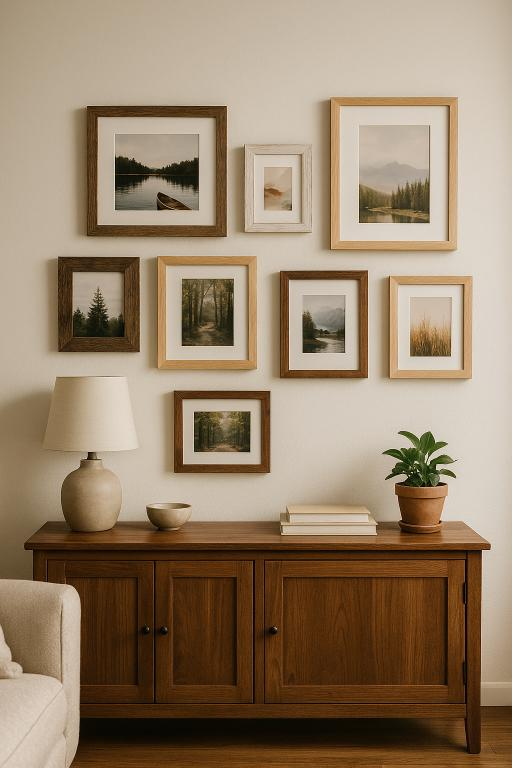
🪵 Project 1: Rustic Floating Shelf
Difficulty: Beginner
Estimated Time: 1–2 hours
Average Cost: $15–20
Selling Price: $50–75 per set
Materials
- 1×8 or 1×10 pine board (cut to 24–36 inches long)
- 2 wood brackets or hidden shelf supports
- Wood screws
- Wood glue
- Sandpaper (120, 220 grit)
- Wood stain and polyurethane finish
Tools
- Circular saw or miter saw
- Power drill
- Measuring tape
- Level
- Brush or cloth for finish
Related post: 38 woodworking projects that sell
Step-by-Step Instructions
- Cut the board to length.
Choose the shelf size — common lengths are 24″ or 30″. Cut clean, square edges. - Sand the surface.
Smooth both sides using 120-grit sandpaper, then finish with 220-grit. Remove all dust. - Attach brackets or hidden supports.
Mark and pre-drill holes on the underside of the shelf. Secure the supports with screws. - Stain and seal.
Apply a coat of wood stain for color. Once dry, brush on polyurethane for durability and sheen. - Mount and test.
Install the supports on the wall with a level to ensure even alignment.
Selling Tips
- Offer multiple stain options (dark walnut, golden oak, natural).
- Style your product photos with décor items for visual appeal.
- Market as “handmade rustic shelf for living room or kitchen.”
🍷 Project 2: Compact Wine Rack
Difficulty: Beginner–Intermediate
Time to Build: 2–3 hours
Average Cost: $25
Selling Price: $70–120
Materials
- 1×6 and 1×4 pine or hardwood boards
- 1-¼″ screws
- Wood glue
- Wood filler
- Stain and satin finish
Tools
- Drill and Forstner bit (for bottle holes)
- Miter saw
- Sandpaper or orbital sander
- Clamps
- Measuring tape
How to Build
- Design layout.
A simple rack holds 6 bottles horizontally. Cut two side panels (16″ tall), two shelves (18″ long), and two base pieces (16″). - Drill bottle holes.
On each shelf, mark and drill 3 evenly spaced 1¾″ holes using the Forstner bit. - Assemble frame.
Glue and screw the sides to the base, keeping everything square. Clamp until dry. - Attach shelves.
Space the shelves evenly (about 5″ apart). Pre-drill and screw into place. - Finish.
Fill gaps, sand smooth, and apply two coats of stain followed by protective finish.
Selling Tips
- Use darker stains for elegant looks (espresso, mahogany).
- Market as a “handcrafted wine rack gift for home bar or kitchen.”
- Add optional personalization with wood-burned initials or dates.
🌿 Project 3: Indoor Herb Planter Box
Difficulty: Easy
Build Time: 1 hour
Average Cost: $10–15
Selling Price: $35–60
Materials
- 1×4 cedar boards (naturally rot-resistant)
- 1¼″ exterior screws
- Waterproof wood glue
- Exterior finish or linseed oil
Tools
- Drill/driver
- Miter saw
- Clamps
- Measuring tape
Step-by-Step Instructions
- Cut pieces.
- 2 side boards: 12″
- 2 end boards: 5″
- 1 bottom panel: 12″ × 5″
- Assemble the box.
Apply glue along the edges and screw the sides and ends together. Attach the bottom last. - Sand and finish.
Round edges lightly and sand smooth. Wipe clean. Apply linseed oil or exterior sealer. - Drill drainage holes.
Add three small holes at the bottom for proper water flow.
Selling Tips
- Include small chalkboard labels for herb names.
- Market as “eco-friendly cedar herb planter handmade from natural wood.”
- Photograph with herbs planted for presentation.
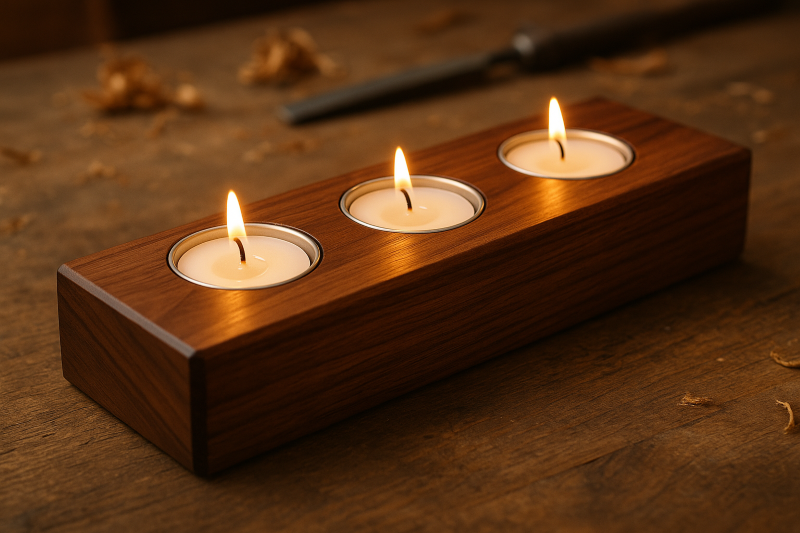
🕯️ Project 4: Wooden Candle Holder Set
Difficulty: Beginner
Build Time: 45 minutes
Average Cost: $5
Selling Price: $25–40
Materials
- Scrap hardwood pieces (2×2 or 3×3 inches)
- Tea light candles
- Sandpaper
- Mineral oil or beeswax finish
Tools
- Drill with 1½″ Forstner bit
- Clamps
- Measuring tape
How to Build
- Cut blocks.
Cut 3–4 blocks in varying heights (e.g., 3″, 4″, 5″) for visual interest. - Drill candle holes.
Center and drill a ½″ deep hole on top of each block. - Smooth the surface.
Sand each face thoroughly, paying special attention to corners. - Apply finish.
Rub with mineral oil or beeswax to highlight the wood grain and add a soft sheen.
Selling Tips
- Package as a set with twine and a tag.
- Market for “home spa décor” or “romantic handmade gift.”
- Use reclaimed wood for a sustainability angle.
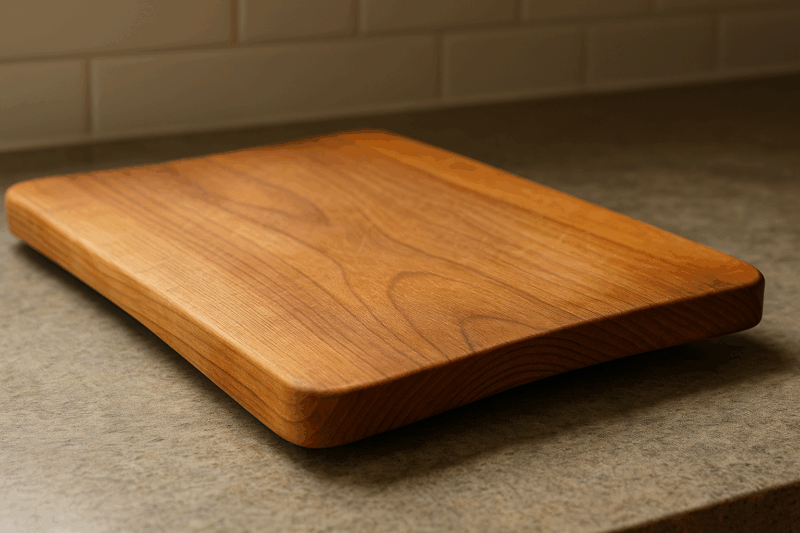
☕ Project 5: Simple Coffee Table Tray
Difficulty: Beginner
Build Time: 2 hours
Average Cost: $20–25
Selling Price: $60–100
Materials
- ¾″ plywood or solid pine board (18″ × 12″)
- 1×2 frame pieces for edges
- Two metal handles
- Screws, wood glue, stain, and finish
Tools
- Circular saw
- Drill
- Clamps
- Measuring tape
- Paintbrush or rag
Step-by-Step Guide
- Cut base and frame.
Cut your base panel to size. Miter the 1×2 edges to frame the base neatly. - Assemble.
Glue and clamp the frame pieces around the base. Reinforce with small brads or screws. - Sand smooth.
Start with 120-grit and move up to 220-grit sandpaper. - Stain and finish.
Choose a stain color that matches popular décor (walnut, natural oak). Seal with clear satin polyurethane. - Add handles.
Center handles on each end and secure with screws.
Selling Tips
- Offer “custom engraving” or “family name trays.”
- Style your photos with mugs or breakfast setups for lifestyle appeal.
- Label as “handcrafted rustic coffee tray.”
🎯 Pricing and Selling Tips for Beginners
- Know your materials cost. Track every screw and drop of finish.
- Set a fair hourly rate. Even $10/hour ensures your work’s value.
- Bundle products. Offer 2-packs or themed sets for higher average orders.
- Photograph beautifully. Natural lighting, clean backgrounds, lifestyle scenes sell best.
- Use local materials. Highlight “locally sourced wood” to attract eco-minded buyers.
⚙️ Essential Tools for Starting Small
You can build all five projects with these basics:
- Cordless drill
- Circular or miter saw
- Orbital sander
- Clamps
- Measuring tape and square
- Brushes or rags for finish
Invest in quality sandpaper and finishing oil — polished presentation matters more than fancy machinery.
Recommended: Makita XSS02 Circular Saw
🧠 Common Mistakes to Avoid
- Skipping prep work: Rushing sanding leads to rough edges and poor finish.
- Ignoring consistency: Make multiples of the same design to master speed and quality.
- Poor packaging: Add tissue paper or branded tags for a professional look.
- Wrong pricing: Don’t undervalue craftsmanship; test higher prices with premium photos.
🪚 Final Thoughts
When people ask, “What are easy wood projects to make and sell?”, they’re really asking, “How do I turn a hobby into income?”
The answer is: start small, stay consistent, and focus on presentation.
The five projects above — floating shelves, wine racks, herb planters, candle holders, and trays — have three things in common:
- Simple to build with basic tools
- Low cost but high perceived value
- Perfect for both beginners and part-time makers
Each project you build is a lesson in skill and business. Photograph, list, improve, and repeat — and soon, your workshop will become a steady income source.
Best Wishes,
Alexander.


Leave a Reply
You must be logged in to post a comment.