DIY Floating Shelves That Hold Weight for Beginners
Floating shelves are one of the most rewarding woodworking projects you can tackle as a beginner. They look stylish, save space, and give your home a custom touch. But the biggest challenge most people face is strength. Many DIY shelves end up sagging or collapsing under weight. That’s where this guide comes in.
Related: DIY Floating Shelves Complete Guide
In this detailed article, you’ll learn exactly how to build DIY Floating Shelves That Hold Weight for Beginners. You’ll discover the right materials to use, step-by-step instructions, tips to maximize strength, mistakes to avoid, and answers to the most common questions. By the end, you’ll have the knowledge and confidence to create heavy-duty shelves that look professional and last for years.

Related: Floating Shelves DIY Guide
Table of Contents
Why Build DIY Floating Shelves That Hold Weight?
- Functionality + style – Strong floating shelves not only look modern but also hold real household items like books, kitchenware, or décor.
- Cost savings – Store-bought heavy-duty shelves can cost $80–$150. DIY versions often cost $20–$30 each.
- Beginner-friendly – This project only requires basic woodworking tools and simple joinery.
- Customization – You control size, finish, and style, making them fit your home perfectly.
- Profit potential – Many woodworkers sell handmade floating shelves for profit on Etsy and local markets.
Tools and Materials
Before starting, gather everything you need. Strong shelves come from the right combination of wood, hardware, and finishing products.
🛠️ Tools
- Drill + drill bits
- Circular saw or miter saw
- Stud finder
- Level (2–4 ft recommended)
- Measuring tape & pencil
- Screwdriver or driver bit
- Clamps
- Orbital sander or sandpaper (120–220 grit)
- Safety goggles and ear protection
📦 Materials
- Hardwood boards or quality plywood (1.5″ thick minimum)
- 2×2 lumber for wall cleats
- 3” screws (for studs)
- 1.5” screws (for assembly)
- Heavy-duty wall anchors (for non-stud areas)
- Wood glue
- Wood filler
- Stain, polyurethane, or paint
👉 Pro tip: Avoid particle board or MDF. These materials sag quickly. Choose hardwoods like oak, maple, or birch plywood.
Instructions on DIY Floating Shelves That Hold Weight for Beginners
Follow this beginner-friendly process to make DIY Floating Shelves That Hold Weight for Beginners.
Related: How to build a bookshelf from plywood for beginners
Step 1: Plan and Measure
- Decide the number of shelves and placement.
- Typical depth: 10–12 inches (ideal for books, dishes, or decorations).
- Use a stud finder to locate studs. Mark them with pencil.
- Draw level lines where your shelves will go.
Step 2: Build the Wall Cleat (Hidden Support)
- Cut a 2×2 cleat the same length as your planned shelf.
- Drill pilot holes every 8–10 inches.
- Screw directly into wall studs using 3” screws.
- Confirm cleat is perfectly level.
👉 The cleat is the backbone of your shelf. Anchored properly, it makes the shelf strong enough to hold weight safely.
Step 3: Assemble the Shelf Box
- Cut top and bottom panels from hardwood or plywood.
- Cut side pieces for each end.
- Assemble panels into a hollow box using wood glue + 1.5” screws.
- Sand edges until smooth.
👉 Dry-fit the box onto the cleat before final sanding. It should slide snugly over the cleat.
Step 4: Mount the Cleat to the Wall
- Position cleat on the level line you drew.
- Drive screws into studs until flush.
- Add anchors if a section misses a stud.
Step 5: Install the Shelf Box
- Slide hollow box over the cleat.
- Drill pilot holes from underneath.
- Secure box to cleat with screws.
- Fill holes with wood filler for a clean finish.

Step 6: Sand and Finish
- Sand all exposed surfaces (start with 120 grit, finish with 220 grit).
- Apply stain, paint, or oil depending on style.
- Seal with polyurethane for durability and moisture protection.
👉 For kitchens and bathrooms, use waterproof finishes.
Styling and Design Tips for floating shelves
- Mix short and long shelves for visual interest.
- Stain in walnut or espresso for a rustic look, or paint white for modern minimalism.
- Combine two or three shelves vertically for maximum storage.
- Style with odd-number groupings of books, plants, and décor.
Mistakes to Avoid building DIY Floating Shelves That Hold Weight for Beginners
- Skipping studs – drywall alone won’t support heavy shelves.
- Using weak wood – softwood, MDF, or particle board sags easily.
- Overloading – even strong shelves have limits (50–100 lbs).
- Incorrect leveling – tilted shelves look sloppy.
- Too much depth – anything over 12” adds leverage that stresses screws.
- Skipping finish – raw wood warps and stains quickly.
FAQs on DIY Floating Shelves That Hold Weight for Beginners
How much weight can floating shelves hold?
Properly anchored into studs, floating shelves can hold 50–100 lbs.
Can I build floating shelves without studs?
Yes, but use toggle bolts or heavy-duty anchors. Expect a lower capacity (20–30 lbs).
What wood works best for floating shelves?
Hardwoods like oak, maple, walnut, or birch plywood. Avoid particle board.
How thick should shelves be?
At least 1.5″ for strength. Thicker shelves look premium and hold more weight.
Can beginners really do this project?
Yes—this is one of the most common woodworking starter projects.
How can I waterproof shelves?
Apply 2–3 coats of polyurethane or marine-grade varnish.
Do I need pocket holes?
No, but they improve strength and give a cleaner finish. Beginners can use glue + screws.
Can shelves be longer than 48 inches?
Yes, but add multiple cleats and ensure you hit at least two studs.
Do floating shelves damage walls?
They leave only screw holes, which can be patched later.
How can I decorate floating shelves?
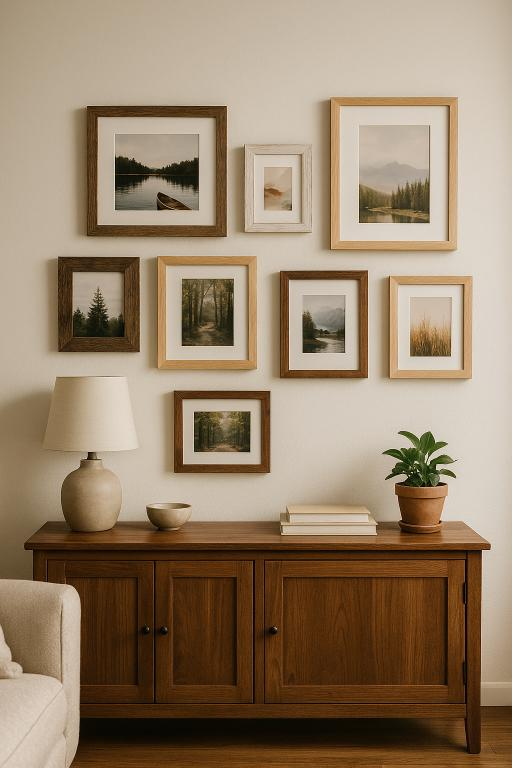
Use a mix of books, framed art, small plants, and functional storage items.
Conclusion
Building DIY Floating Shelves That Hold Weight for Beginners is one of the most practical woodworking projects you can start with. The process is straightforward, the cost is low compared to store-bought options, and the results are both functional and stylish. By anchoring your shelves into studs, using durable hardwood, and following the right construction steps, you’ll create shelves that don’t just look good—they actually hold real weight without sagging or failing.
Whether you’re outfitting a kitchen, bathroom, living room, or office, these shelves will give you extra storage while enhancing the look of your space. More importantly, completing this project gives you confidence to take on bigger builds in the future.
Best wishes,
Alexander.


Leave a Reply
You must be logged in to post a comment.